Quick Start Your First Portal
Launch your self-service portal in minutes—step-by-step, with screenshots.
Ready to see your portal in action? With just a few clicks, you’ll launch a secure, self-service portal—preloaded with a sample "Paystub" document type and demo data. Instantly explore both admin and the user's (frontend) views, and discover how easy it is to manage documents and accounts.
Table of Contents
- 1. Find the Portal — Help & Support → Apps / Starter Packs
- 2. Start the Portal
- 3. Log In as Admin
- 4. Explore the Portal Admin Dashboard
- 5. See “My Documents” from a User’s Perspective (Employee, Customer, Partner, Student, etc.)
- DataPallas Portal Experience
1. Find the Portal — Help & Support → Apps / Starter Packs
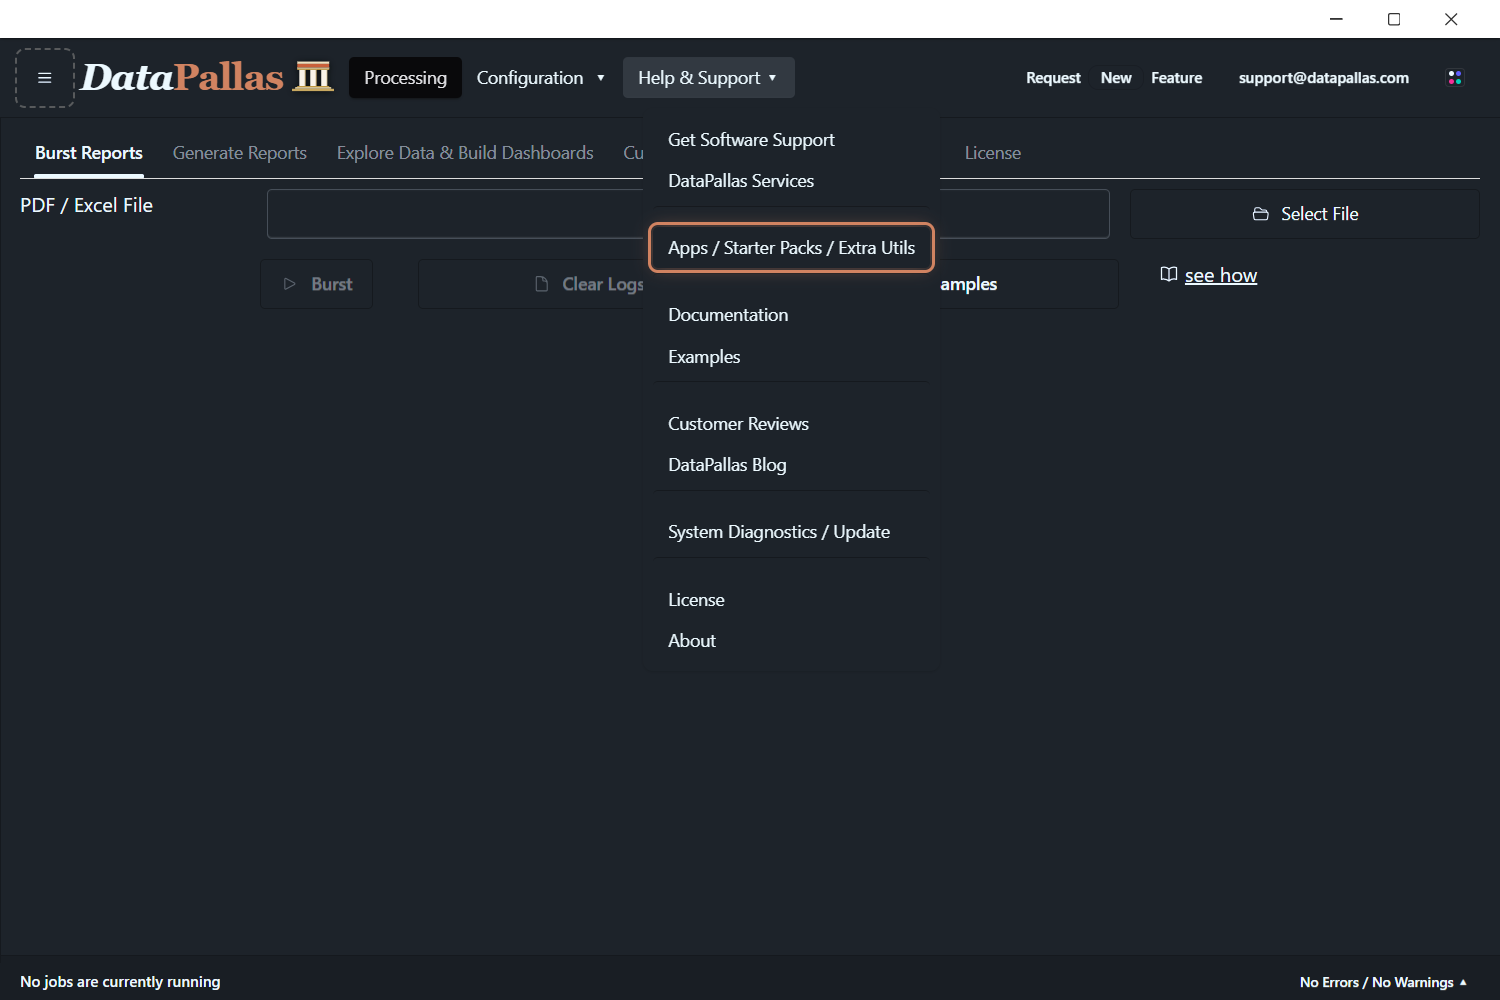
The Web Portal lives together with the other apps. In DataPallas, open Help & Support in the top menu and choose Apps / Starter Packs.
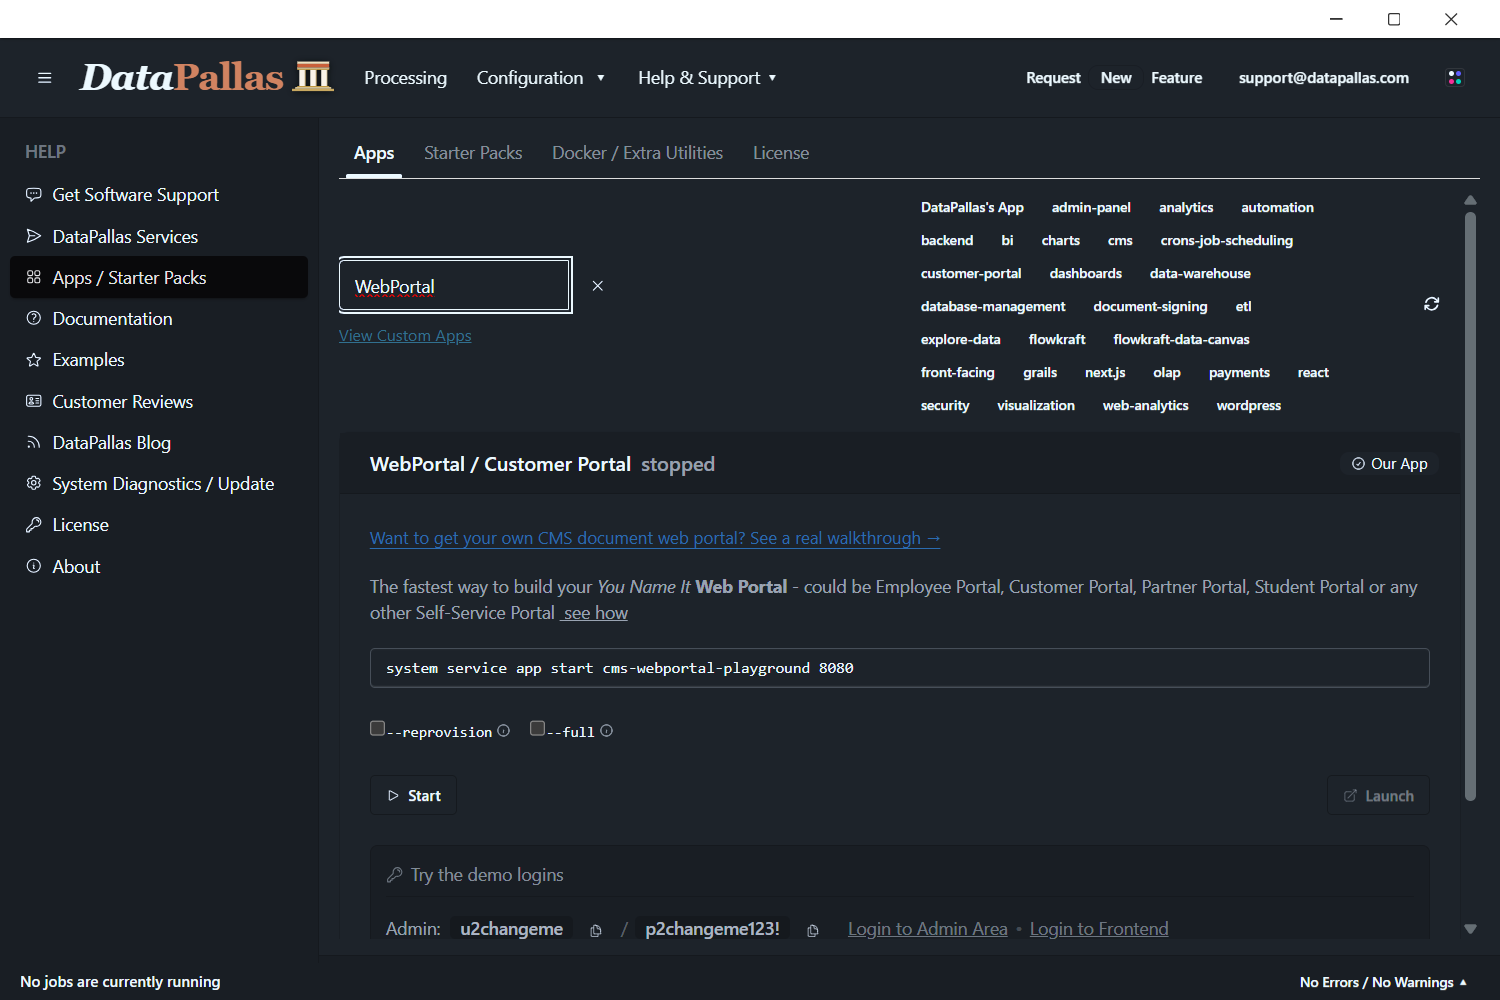
On the Apps tab, type WebPortal into the search box. The WebPortal / Customer Portal (WordPress) card appears — currently stopped.
2. Start the Portal
Click the Start button next to the portal app.
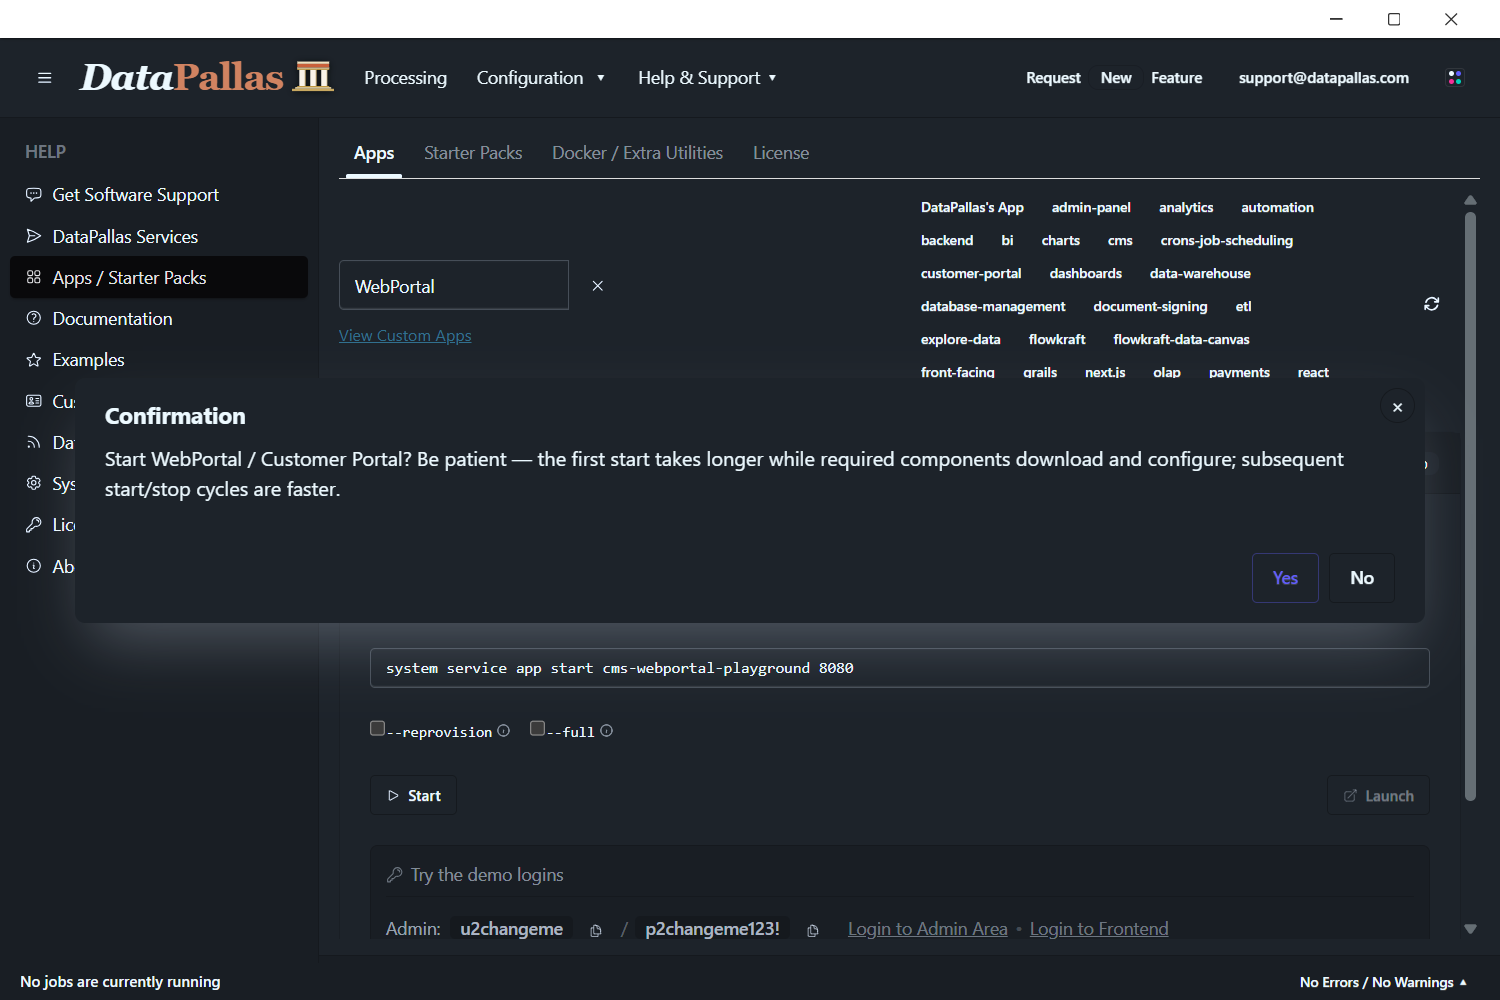
On first launch, DataPallas Portal downloads, provisions, and configures everything you need.
This initial setup may take a few minutes—grab a coffee and watch the progress!
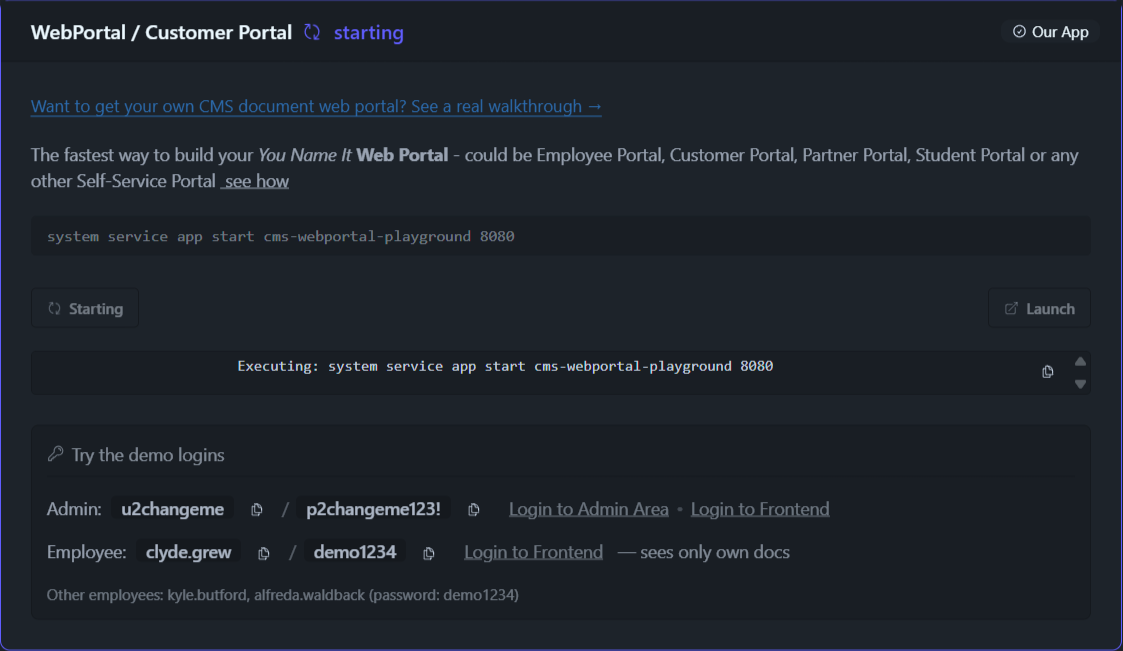
Wait until the status changes to running. The card now offers Stop and Launch (external link icon), plus the demo logins.
Once the portal is running, click Launch — highlighted below.
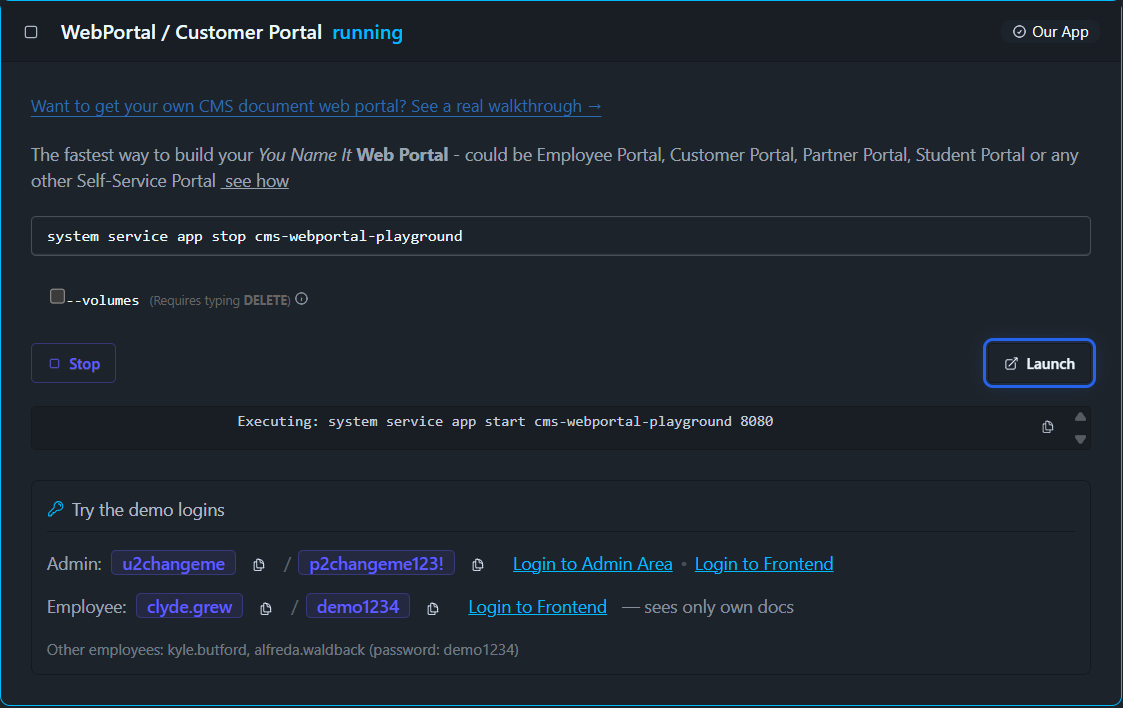
Your portal opens in a new browser tab—ready for you to log in.
After the first setup, future start/stop cycles will be much faster.
3. Log In as Admin
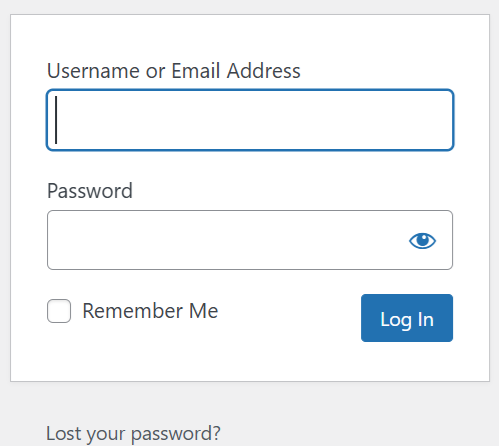
On the login page, enter your admin credentials (set in your .env file):
WP_ADMIN_USER=u2changeme
WP_ADMIN_PASSWORD=p2changeme123!
4. Explore the Portal Admin Dashboard
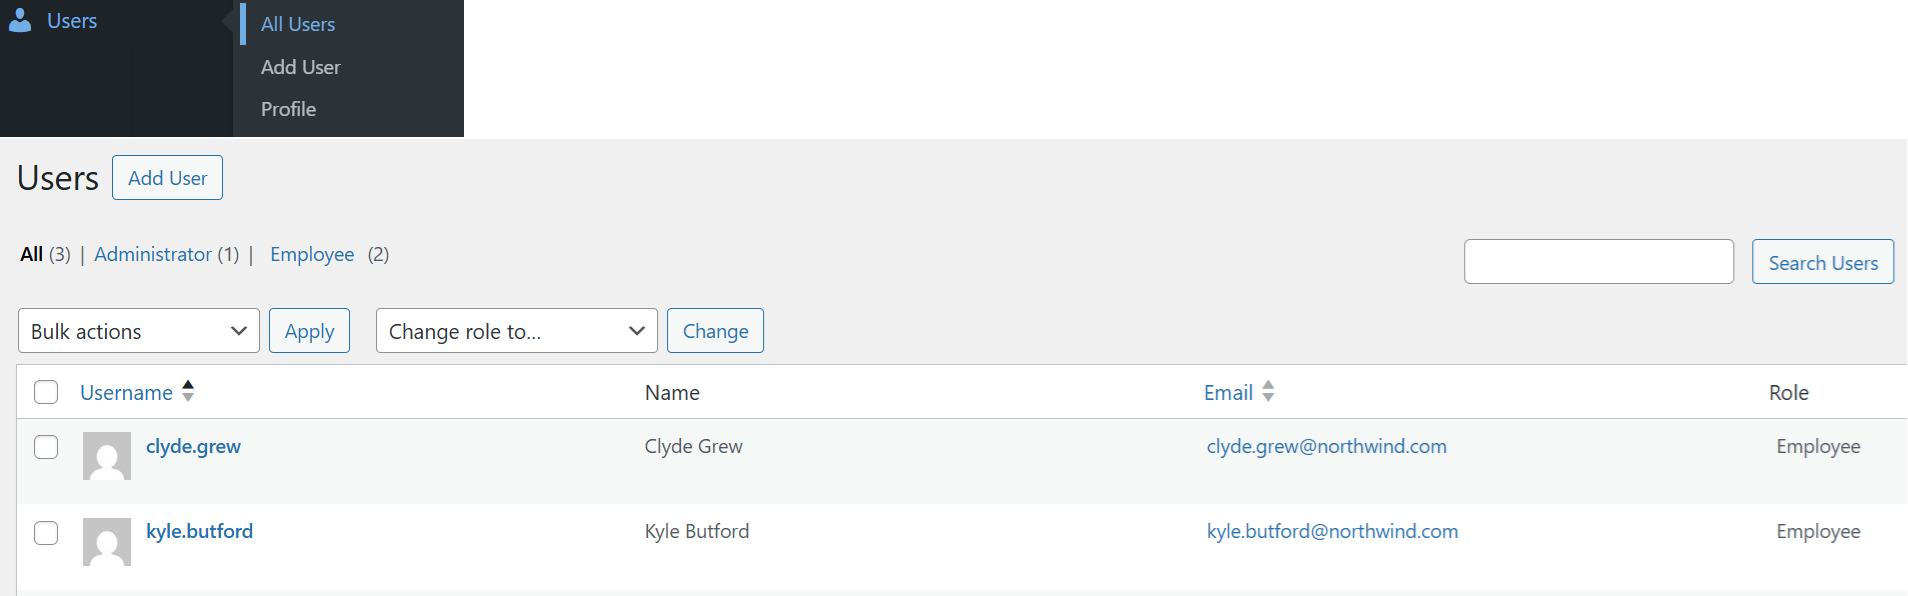
After logging in as admin, you’ll see the portal admin dashboard. Here, you can manage users, organize documents, and adjust settings.
Sample employee users are already set up for you:
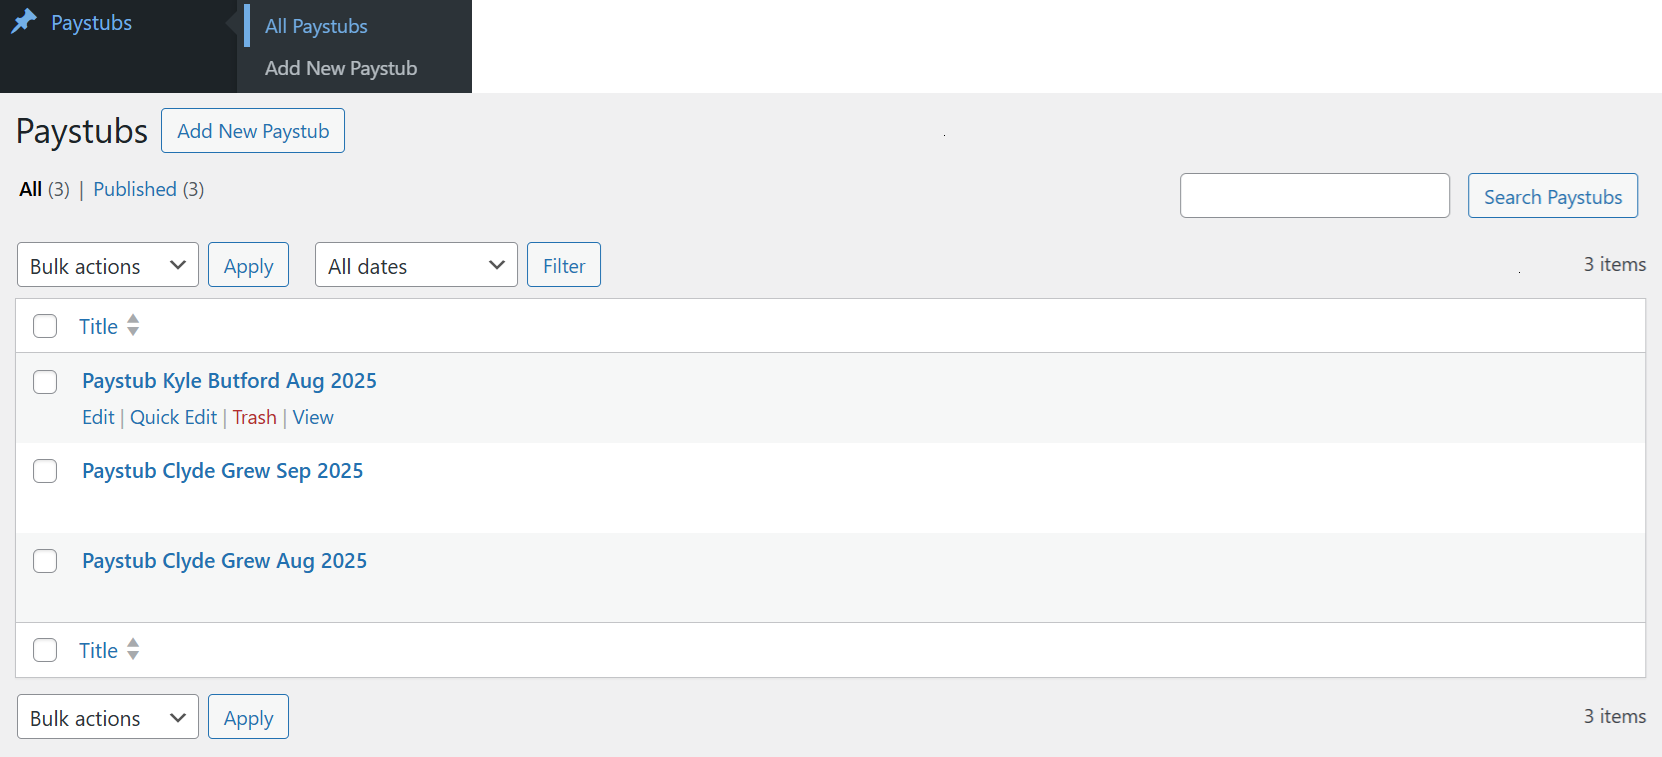
Check out how sample "Paystub" data appears in the admin backend:
5. See “My Documents” from a User’s Perspective (Employee, Customer, Partner, Student, etc.)
Now, switch to the frontend—the experience your employees, customers, or partners will have.
Log out from the admin area, then go to the My Documents page:
http://localhost:8080/my-documents
Log in again using the same credentials (for now):
WP_ADMIN_USER=u2changeme
WP_ADMIN_PASSWORD=p2changeme123!
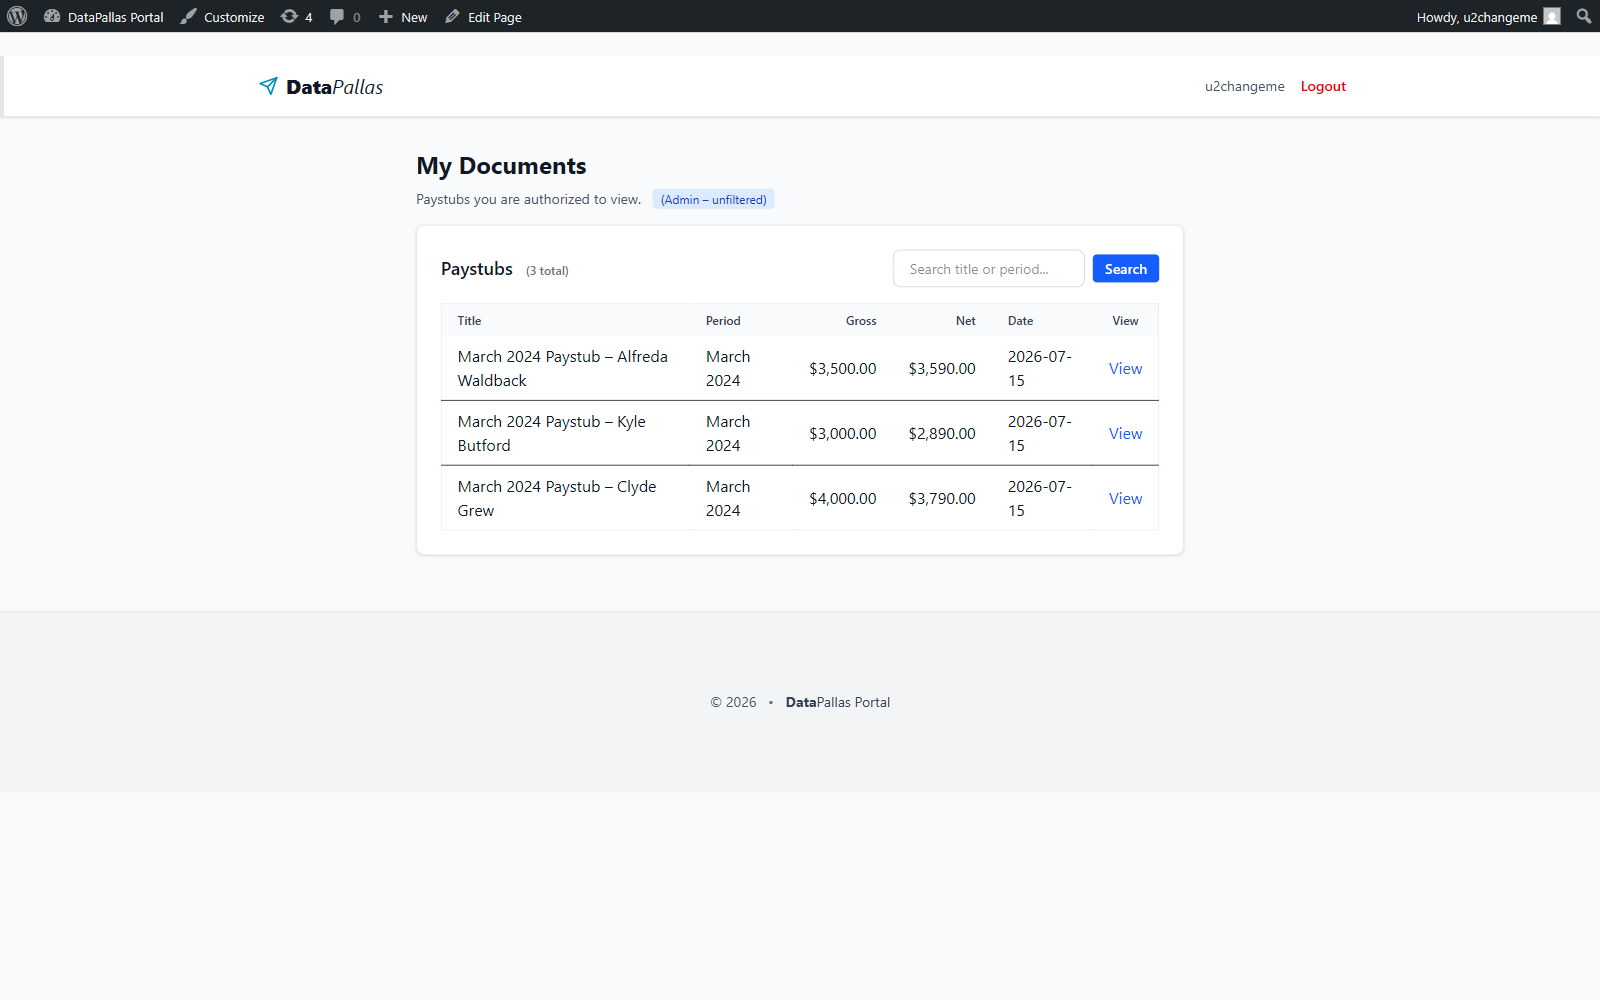
See the same paystubs (demo) data just like an employee would
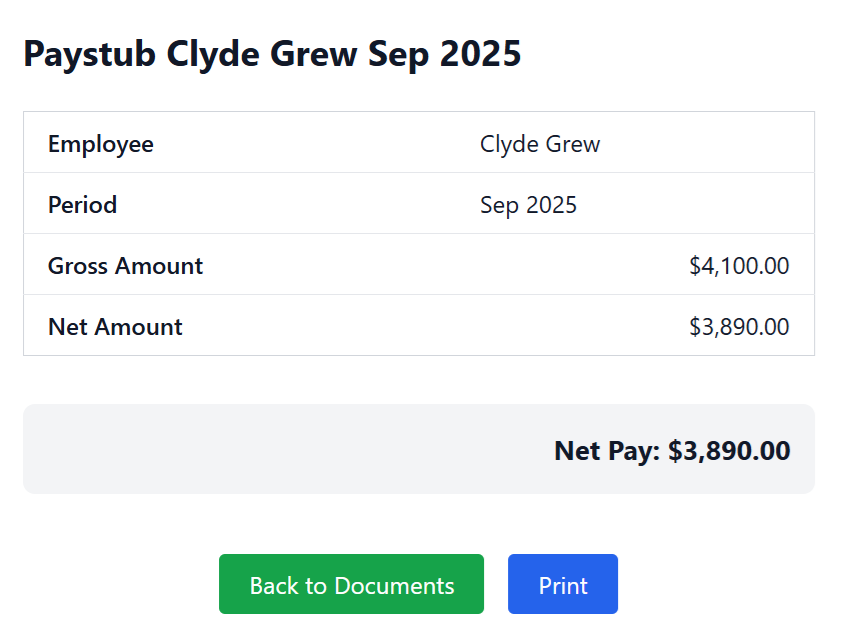
View the details of a single paystub
DataPallas Portal Experience
Your portal is preloaded with a sample "Paystub" document type, demo data, and users—so you can immediately explore both the admin and the user perspectives.
As the admin (u2changeme), you see all employee paystubs; regular employee / users see only their own documents.
DataPallas automates document creation, publishing, and user account management—new users are created as needed, so document distribution and access are fully automated.
When you’re ready to customize, you’ll define your own document types (like payslips, invoices, or any business document) and specify the fields and structure that fit your needs.
With AI, you can easily tailor how each document is displayed—both individually (using templates like single-paystub.php) and the account list view (page-my-documents.php).
Want to go further? The Development Stacks guide shows how to add your own document types and customize every aspect of your portal — with AI doing most of the heavy lifting.